Making the dies did not take as long as I had first thought it would. We will start with the seating die since I did that first. It required the use of a chambering reamer and since I already had that I started there. The resize reamer at the time was still in the mail.
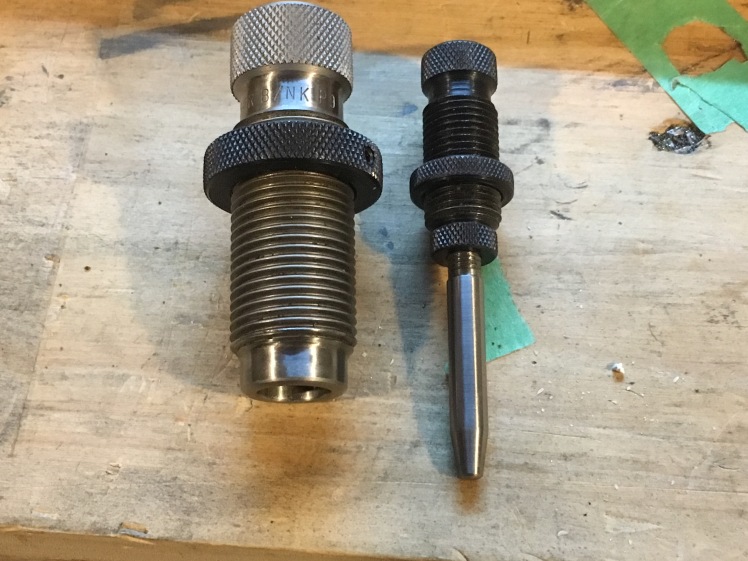
On the left you can see the Forster Seating die. This started life as a 260 REM. Some of the original 260 Remington chamber was still visible in the sleeve however 85% of it was cleaned up. I suppose I could go deeper but all this part of the die does is hold the brass for the seating of the bullet. Concentricity was my largest concern.

Although this chuck is not indexable its amazingly straight and has virtually no runout. I rotated the sleeve a few times and was down below .0001 of runout. They must have ground the jaws on this thing before it left the factory otherwise getting a chuck this straight is expensive. Big shout out to Precision Matthews for getting in some good stuff.
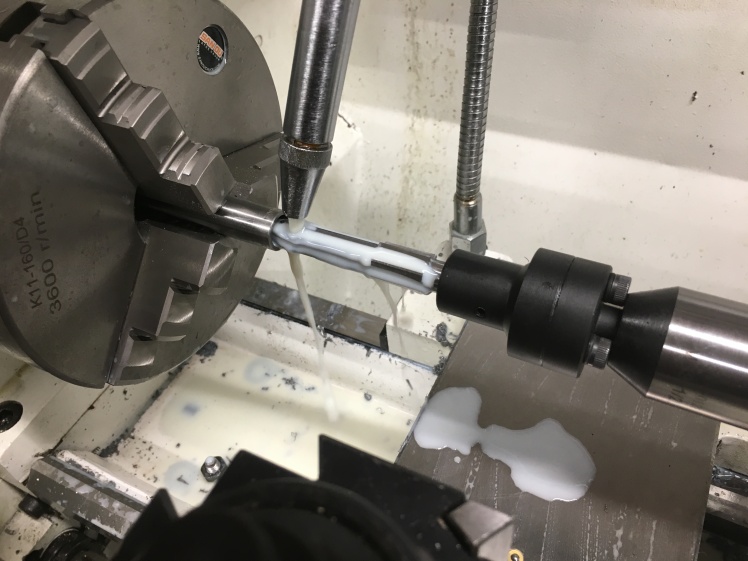
I just love coolant. Really makes taking care of your reamer a lot easier. Going in quite slow and pulling out every .050 to clean out the chips.

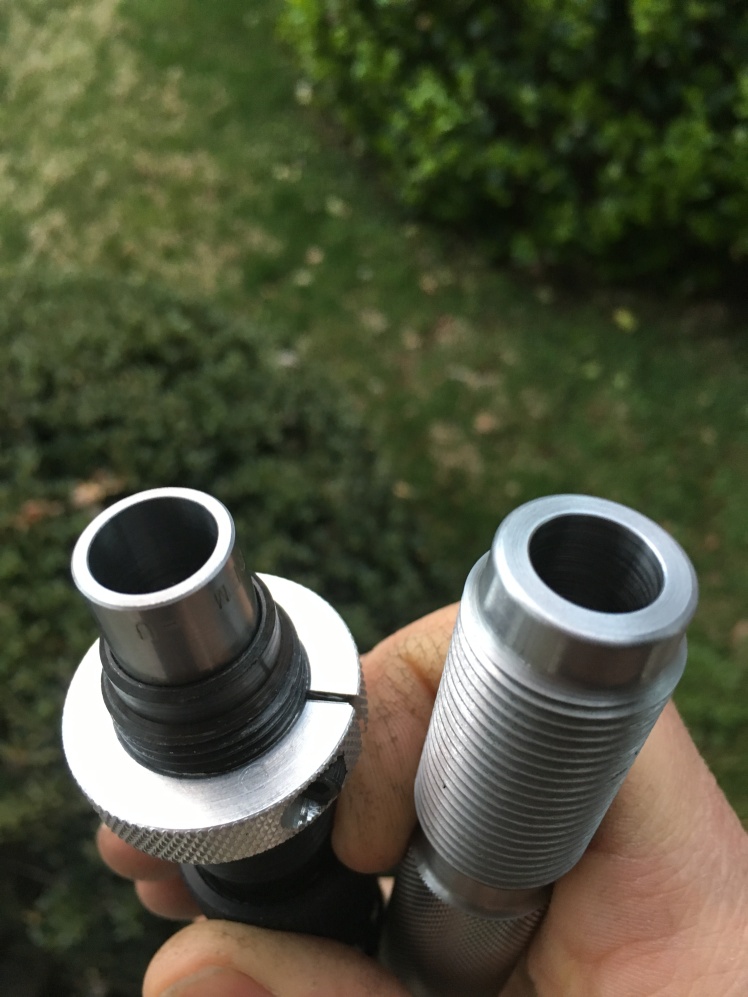
Here you can see the entire family. The Forster die then its internal sleeve which is all reamed out here in this photo. Next is the chamber die that was used on the sleeve. Then we have the resize reamer that took a very long time to get. And a sizing die blank from PTG.

Here I am indicating in the die. Just a little tapping and it was nice and true with no runout. The indicator on the right has a 1.5in needle on it so I can check deep inside as well as close to the mouth of the die. The resize reamer did not cut as well as the chamber reamer did. Maybe its the metal in the die. I did not have any chaser though. Seams like one flute cut more then the rest. I did have to spin it at 1200 rpm wish some emery cloth to smooth it out in the end. Hole process for both took about three hours.

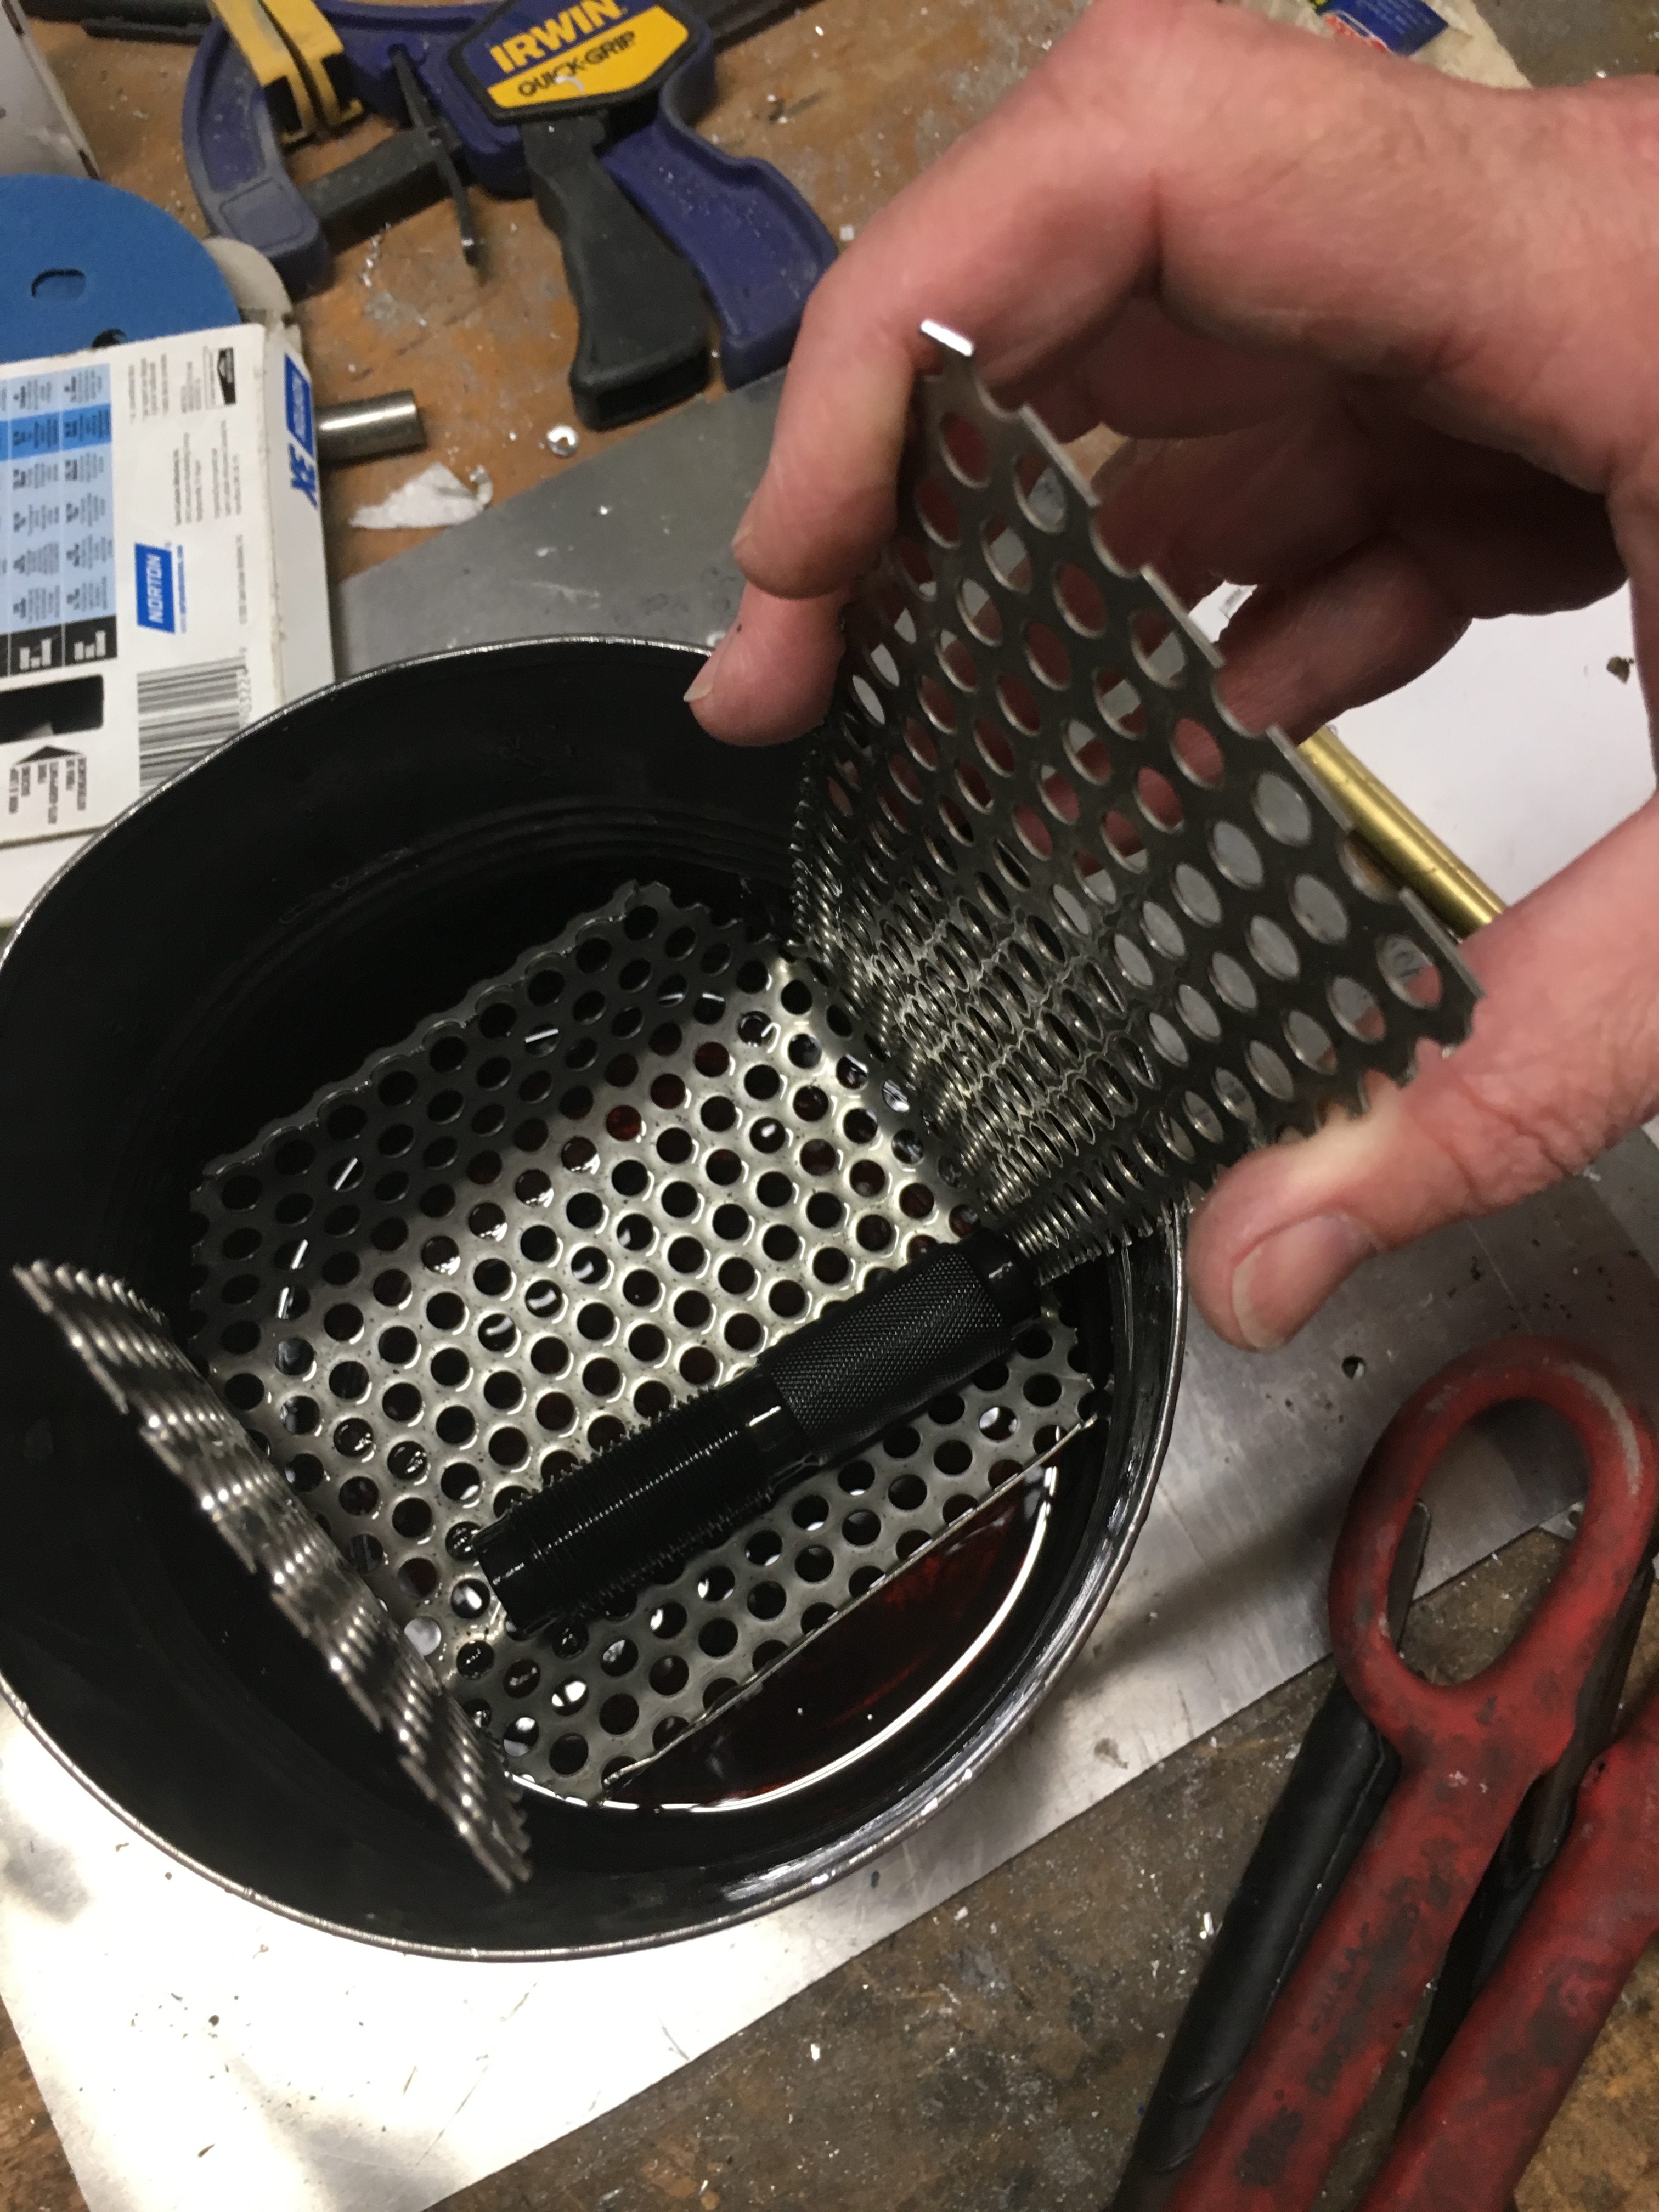
The above photo is of the die wrapped in stainless steel heat treating foil. Keeps the die from getting crusty when you heat it to 1500F. I used oil to quench it. The oil have the die a nice black look. I am quite happy with that. I hope the next few that I do come out that way. They say used motor oil is the best. There is lots of carbon in it that impregnates the steel surface and that is a good thing.
Left to right. The 6.5 BR Lapua FL sizing die is the large black one. Next to that is a Redding Type S Bushing die. I paid 200$ to have that thing custom made way back in the days when Mosin cost only $100. What was I thinking. Last one is a Forster 6.5×47 FL die. Love their dies. I think in the future I am going to bulk order a bunch of decaying rods and stop collars from them for dies I make and sell.

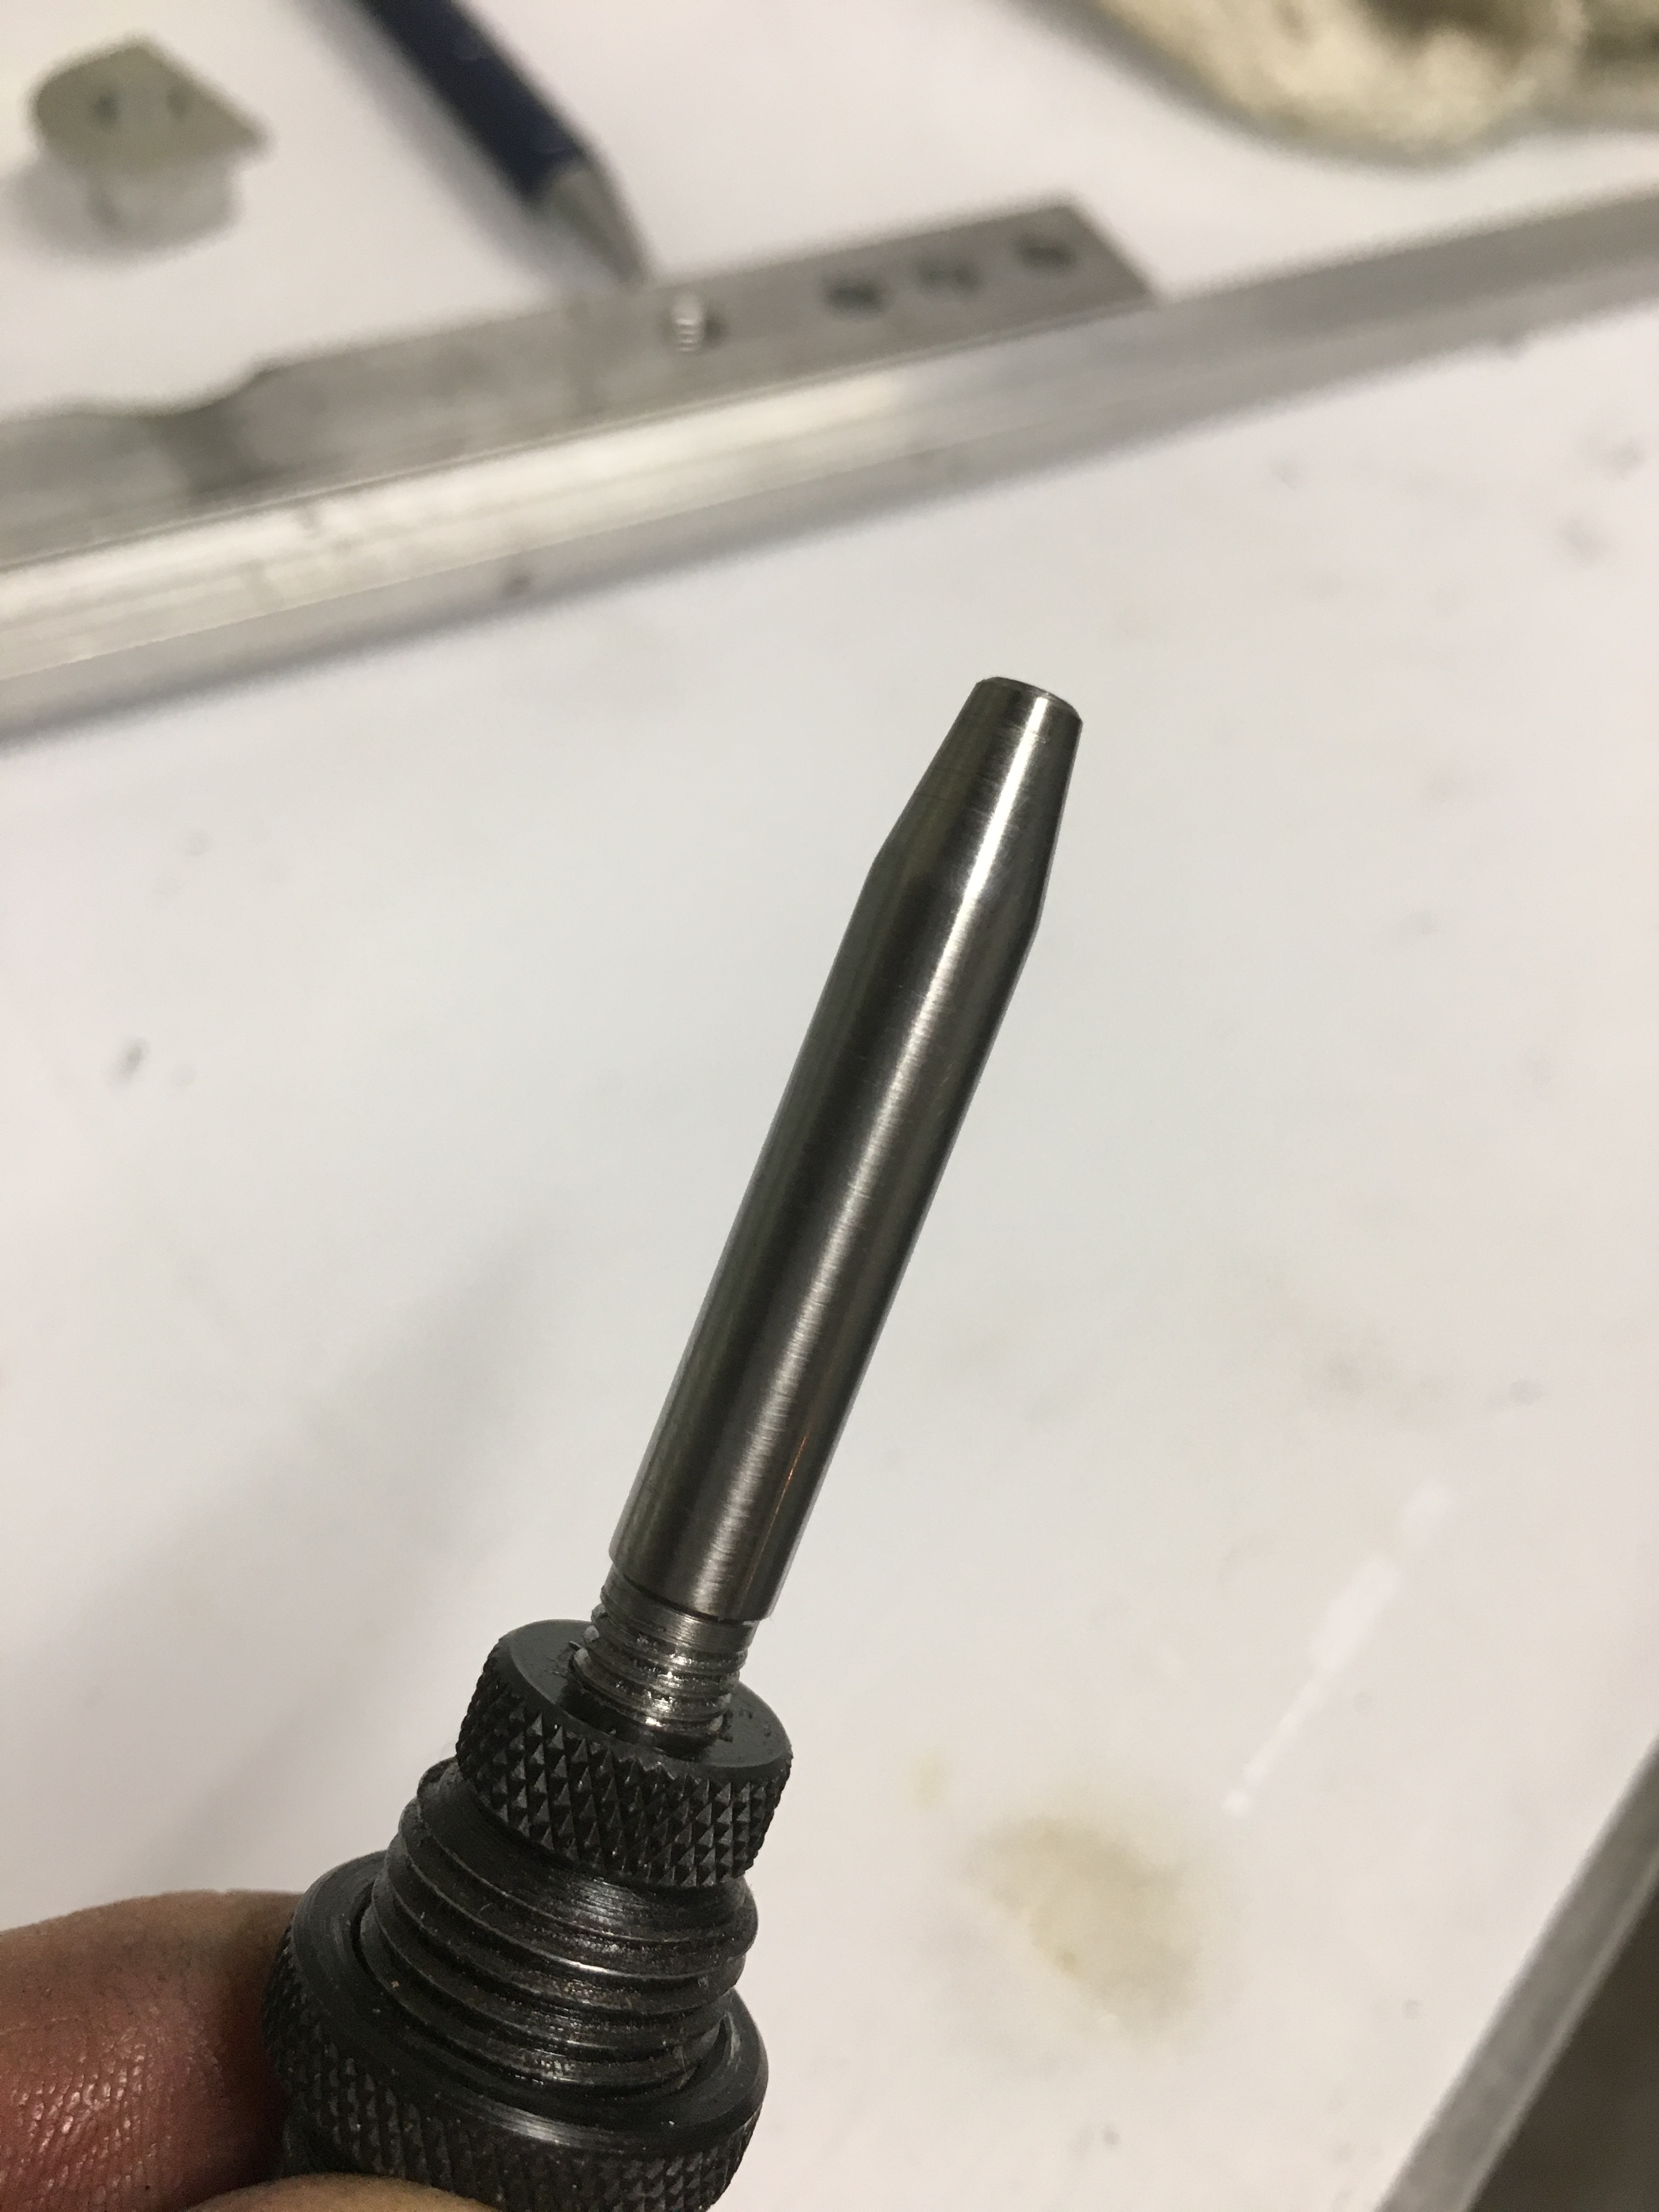
One last thing I had to do was make an expanding mandrel. I hear they produce better concentricity and it just another on of those tool that you need to have. I will also need it for neck turning. Now this thing was harder then I thought it would be to make. It took me four tries to get it right. Absolutely smoothness and concentricity was important so the work was done between centers. Here it is mounted up in my Redding 300 WSM die. That die is large enough inside it will not touch most cartridges in the short action world.